I just finished my EeePC overhaul. In addition to the default Linux distribution sucking on the EeePC, the stock SSD is as slow as Christmas, the stock SSD is only 4gb, and only had 512mb of memory.
For this mod, I used the following components:
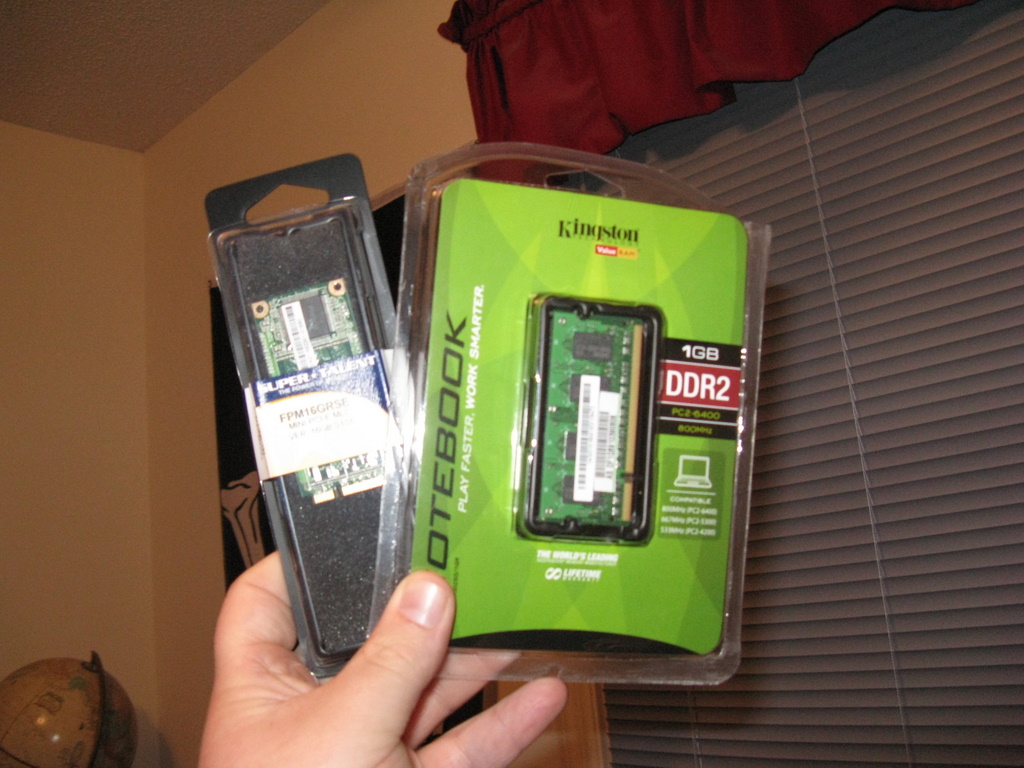
- Kingston 1GB 200-Pin DDR2 SO-DIMM DDR2 800 (PC2 6400) Laptop Memory Model KVR800D2SO/1GR
- SUPER TALENT FPM16GRSE Mini PCIe 16GB Mini PCIe (SATA) MLC Internal Solid state disk (SSD)
You’ll also want the following:
- The latest version of Eeebuntu – http://www.eeebuntu.org/
- UNetbootin – http://unetbootin.sourceforge.net/
- A sizable usb flash drive.
Overall the procedure is fairly simple:
- Download the lastest version of Eeebuntu.
- Download UNetbootin (it just makes life easier).
- Use UNetbootin to put the Eeebuntu distribution onto the flash drive and make the drive bootable.
- Unscrew and remove the cover plate on the back of the EeePC.
- Unscrew and slide out the SSD.
- Install the new SSD and screw into place.
- Remove the original memory stick.
- Install the new memory stick.
- Replace the back cover of the EeePC.
- Attach the flash drive to the EeePC and turn it on.
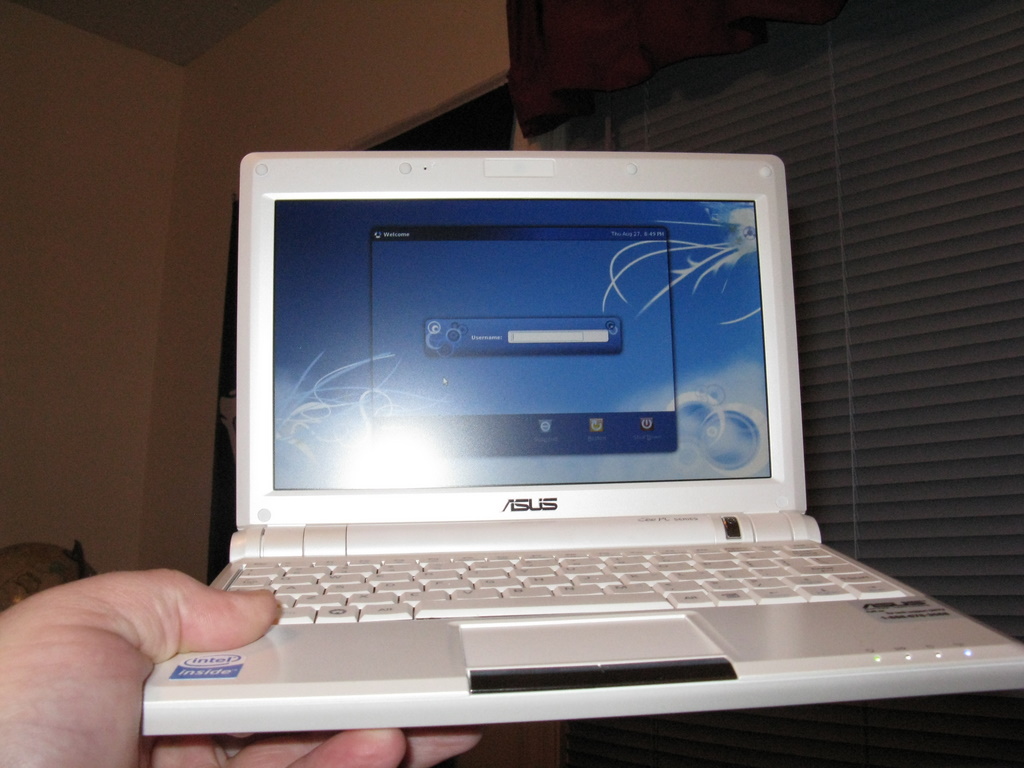
- Follow the onscreen steps to installing Eeebuntu.
I should note that I did read about the EeePCs being very picky with memory. I’ve heard that it has to virtually match the specs of the original stick. I’ve tested it so far and mine is not showing any instability problems at all. With the SSD and memory replacement, this little machine is a screamer. Startup and shutdown are blazingly fast and to beat all, I’m starting to wonder if its outperforming a Ubuntu 9.04 install I have on one of my ancient desktops!
Here are some pics…
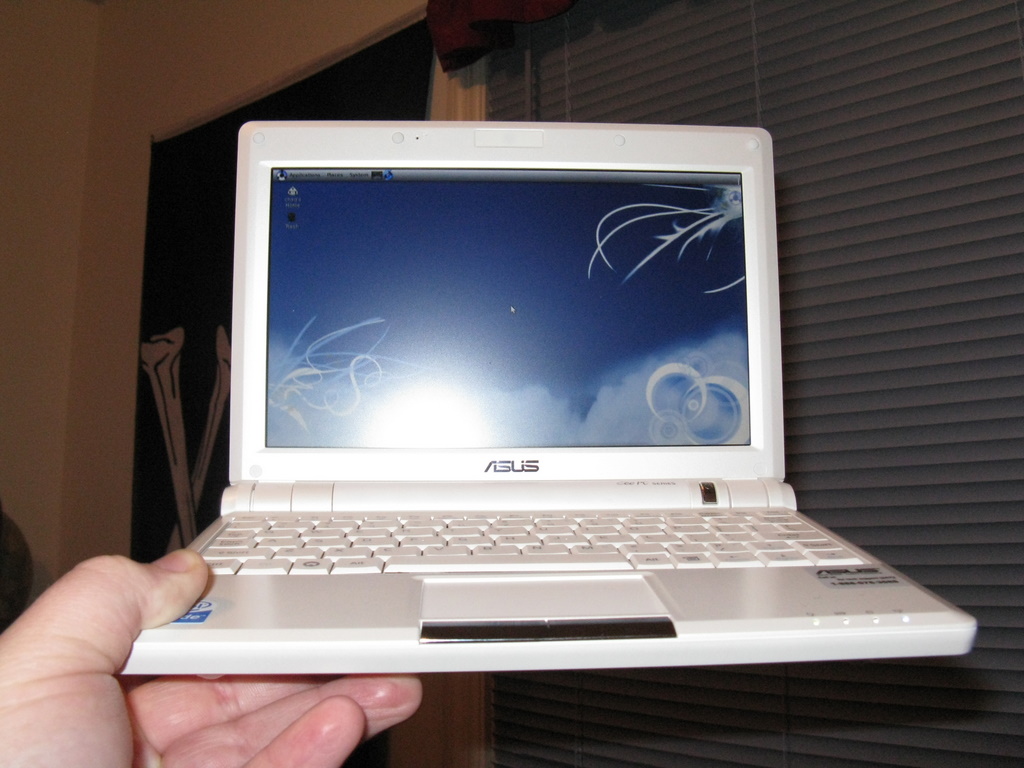
I’ve only noticed one little tiny issue so far with my install. Turns out that sometimes the icons on the right side of the top panel get covered up by the panels background image. One potential fix is to delete the directory ~/.gconf/apps/panel but that fix is only temporary. The fix I went for is to remove the background image entirely and opt for a transparent panel setting. It fixes the problem and looks a lot cooler!