I encountered the following error in Aptitude after my Ubuntu 9.10 box fubar’d during an install. The message given by synaptic is similar.
Reading package lists… Error!
E: Encountered a section with no Package: header
E: Problem with MergeList /var/lib/dpkg/status
E: The package lists or status file could not be parsed or opened.
The following sequence of commands fixed it for me.
#: cd /var/lib/dpkg
#: sudo mv status status-bad
#: sudo cp status-old status
#: sudo apt-get update
My ancient D-Link 624 has showing signs of conking out over the past couple of months. That had put me in the dilemma of “Do I wait for 802.11n to be released or do I buy a modifiable router now?” Well, I made the decision. I bought an old, high modifiable Linksys WRT54GL.
***Just a word of caution, don’t buy a WRT54GL unless you plan on flashing the firmware to something better because the default firmware sucks royally.***
This morning, I successfully applied the latest DD-WRT firmware to the router and now have it up and running. So far, I am really digging it. I highly recommend it to anyone with supported hardware. I choose DD-WRT over OpenWRT simply because of the ease of upgrading it. Eventually, I may switch over, but as of now I have no plans to.
This procedure is not without risk however. If you screw it up, you could find yourself with nothing more than an expensive doorstop/paper-weight/what-have-you. If you follow the instructions provided on the site you will most likely succeed.
If you would like to attempt to modify your router firmware, go to http://www.dd-wrt.com/ and check to see if your hardware is supported. Definitely check the Instructions because you will brick your router if you mess up. Also check out the “Peacock” thread in the DD-WRT Forums. It can be found here: http://www.dd-wrt.com/phpBB2/viewtopic.php?t=51486. I followed the exact procedure listed in the first post and had absolutely no problems.
a.Set your computer to a static IP of 192.168.1.8. (or to whatever subnet the router is on) Disable all firewalls and security. Disable wireless on your computer and only have the router connected to the flashing computer by the ethernet cable between the two.
b. Hard reset prior to flashing. Wait. Check for password page on re-login and change password.
c. Flash firmware. You can use the webgui except if you have a belkin router. (For belkin use tftp.exe to flash)
d. Wait…at least three minutes. Lights should return to normal. See important2, below. Failing to wait is how most people brick their routers.
e. Do a power cycle of the router. (Unplug the cord, count to 30 and plug it back in.)
f. Wait for the lights to return to normal usually about 2 minutes.
g. HARD reset again. Wait. Check for the password page and re-login to change the password. Then you can reconfigure your settings manually.
h. Once configured set your computer back to autoIP and autoDNS.
Attached below is a video I watched before doing it. It really simplifies the procedure and you really need to read more into it, but it should alleviate some fears.
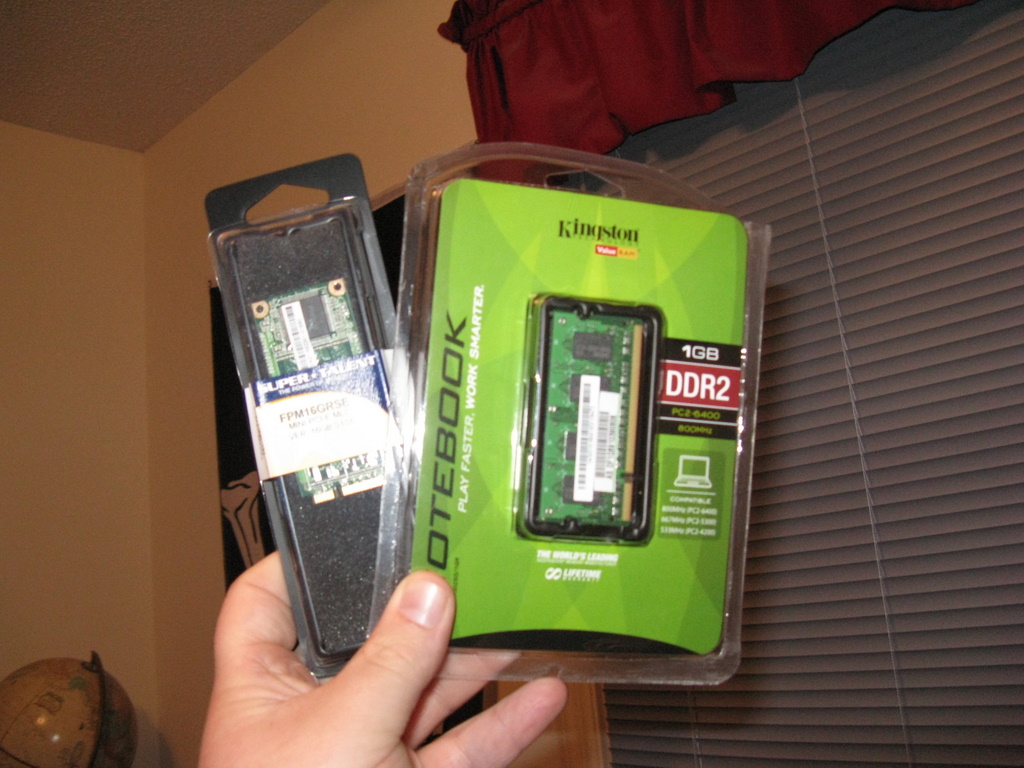
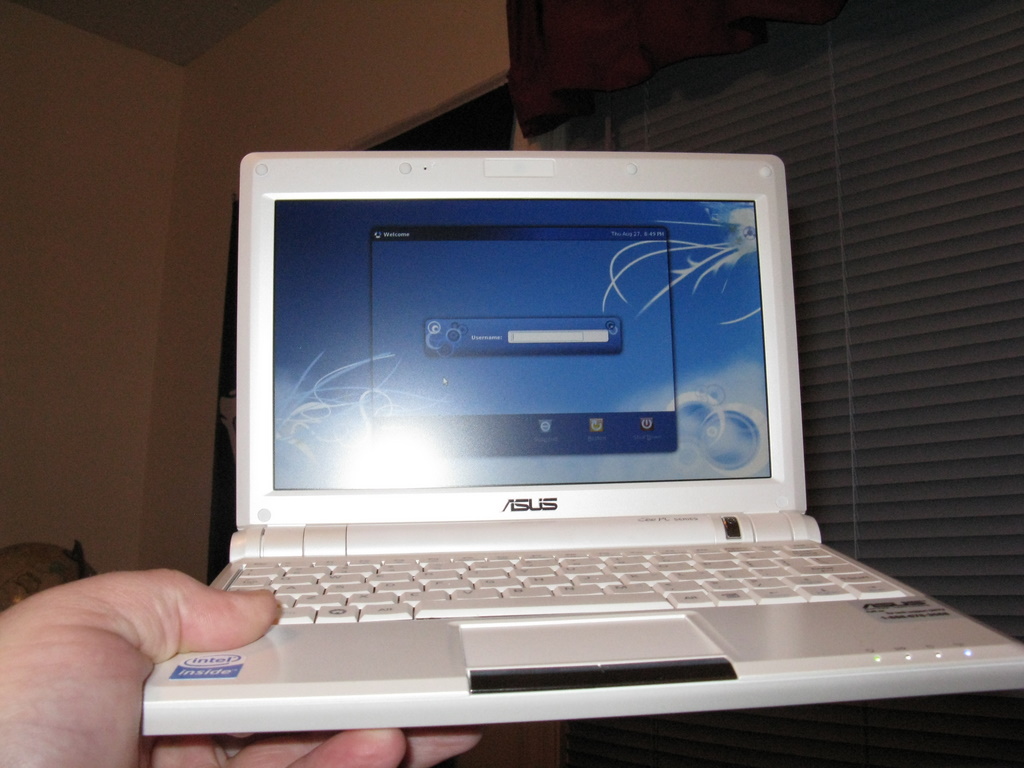
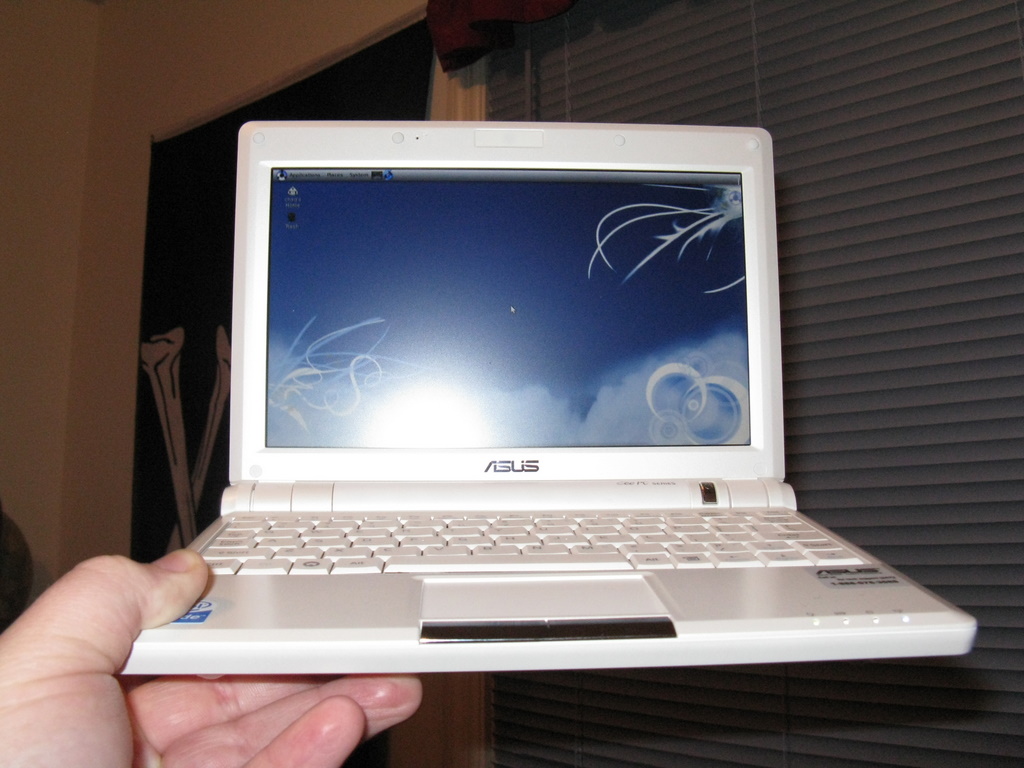
I just finished my EeePC overhaul. In addition to the default Linux distribution sucking on the EeePC, the stock SSD is as slow as Christmas, the stock SSD is only 4gb, and only had 512mb of memory.
Use UNetbootin to put the Eeebuntu distribution onto the flash drive and make the drive bootable.
Unscrew and remove the cover plate on the back of the EeePC.
Unscrew and slide out the SSD.
Install the new SSD and screw into place.
Remove the original memory stick.
Install the new memory stick.
Replace the back cover of the EeePC.
Attach the flash drive to the EeePC and turn it on.
Follow the onscreen steps to installing Eeebuntu.
I should note that I did read about the EeePCs being very picky with memory. I’ve heard that it has to virtually match the specs of the original stick. I’ve tested it so far and mine is not showing any instability problems at all. With the SSD and memory replacement, this little machine is a screamer. Startup and shutdown are blazingly fast and to beat all, I’m starting to wonder if its outperforming a Ubuntu 9.04 install I have on one of my ancient desktops!
I’ve not posted about this, but I recently repurposed an ancient pc into an ubuntu linux box. All went well except the display configuration in the xorg.conf file. The old ATI video card I had for that system went out years ago, since then its only had crappyvia integrated video card. Well, after finagleing for a week (granted I didn’t spend much time on it) , I finally got everything setup the way I want it.